Welcome to my JD 180SL & 220SL Reel Mower Restoration
I don't know what Step I'm on in my Lawn 12 Step program, but I'm willing to admit I have a Lawn Problem. It has gotten to the point where I didn't buy just one reel mower at the annual Weeks Auction, I bought FOUR! On top of that I already have two more, a McLean reel and a Honda Harmony rotary, at home? I also have a JD X300 rider I use as my lawn tractor. If I need to cut the grass I have no less that 6 different machines to tackle the job. My wife must think that I've officially lost my mind, heck I think I've lost my mind.
I'll say it again, I bought FOUR new to me reel mowers. Who does that? So now I have a dilemma, which TWO am I going to keep? The plan right now is to keep the 220SL, the TC-22, and the salvage TC-22 for parts, and sell the McLean and the 180SL come spring. Forum members you'll get your chance at the spoils.
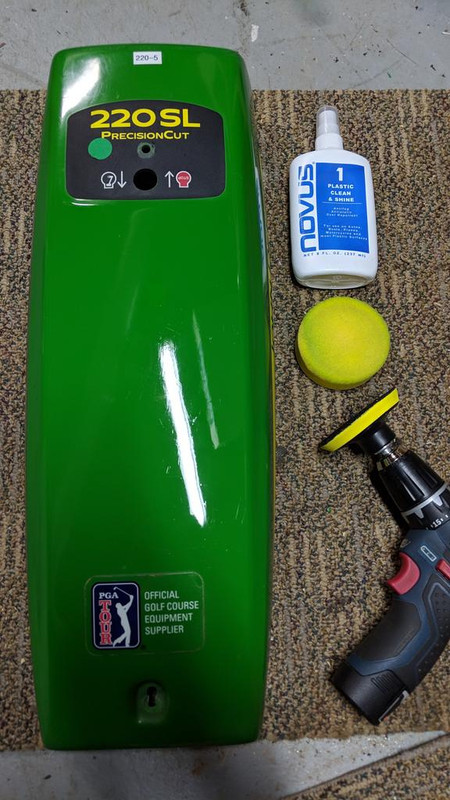
Fast forward - It's a month since the Auction, and I'm looking at the 180SL, and the 220SL that need a little sprucing up. Both mowers have Honda engines and run great, the 180 needed a new pull cord (notice it tied to the handle in the picture), and both carbs were cleaned days after I got them home. They and cut paper with no adjustments, but are seriously in need of a backlapping. The 180SL was bogging down a little on drive w/reel engagement, but that was quickly resolved with fresh grease all around. The plan for the 220SL is to swap out the reel and bedknife for a higher cut in the .50" to 1.25" range. It's settled, the 220SL will be overhauled first.
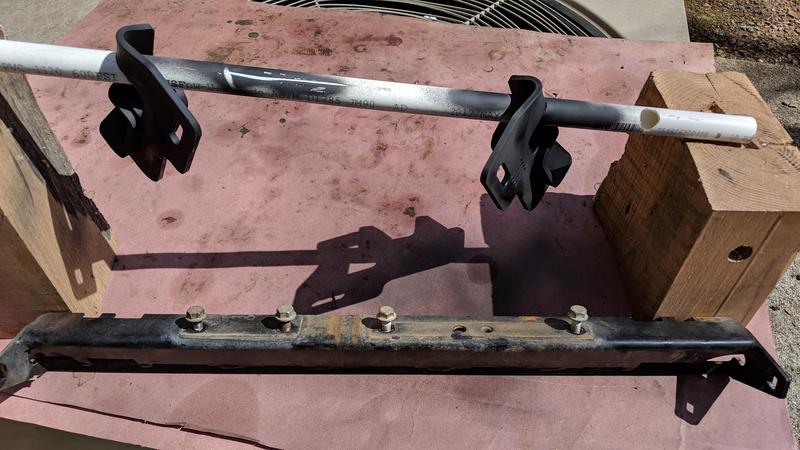
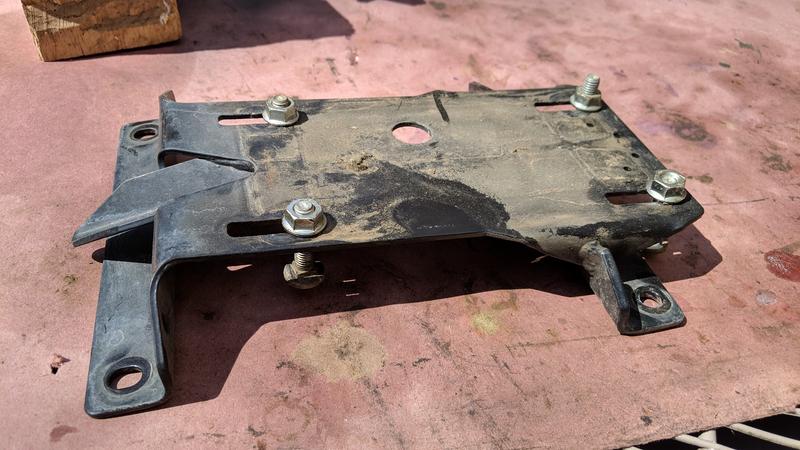
Not long into the tear down, the reel and bedknife are off, and I'm making good progress. I'm checking other items like the groomer and the front roller. The groomer is begging for me to crack it open, so I do, and the front roller has surface rust needing some elbow grease. I pump new grease into the roller for it to only eject muddy water and old grease randomly. It's at this point that I ask myself, why don't I just do this right and tear it down and renew as much as I can while I'm at it. I have no good answer, I'm looking at some rust spots on the frame, belts that should be changed out requiring the engine be pulled, and bearing grease that was applied a little too liberally at every grease zert.
And since I was beginning to clutter up the JD Reel Mower Questions thread, I figured I might as well centralize this. Heck I will probably need to reference the pictures to get all of the nuts and bolts back in the right place.
The X300 in the background just had its carb cleaned due to a low RPM surge that had developed.

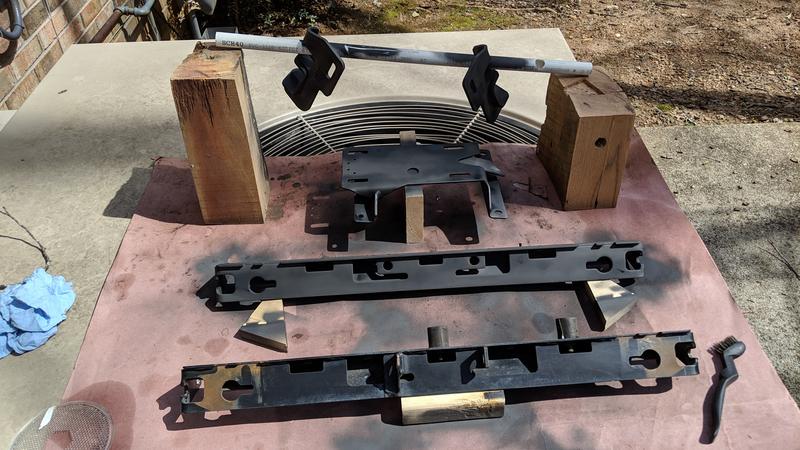
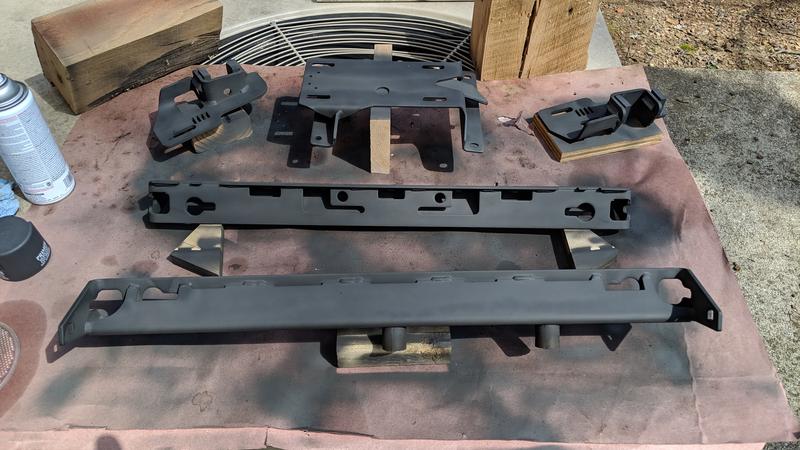
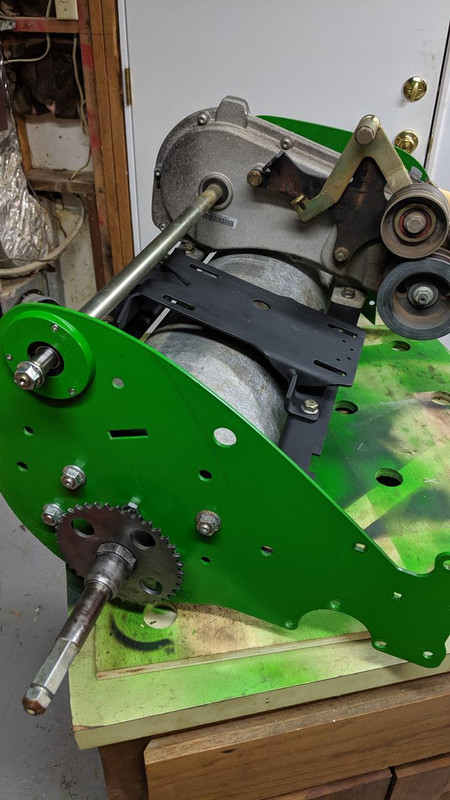
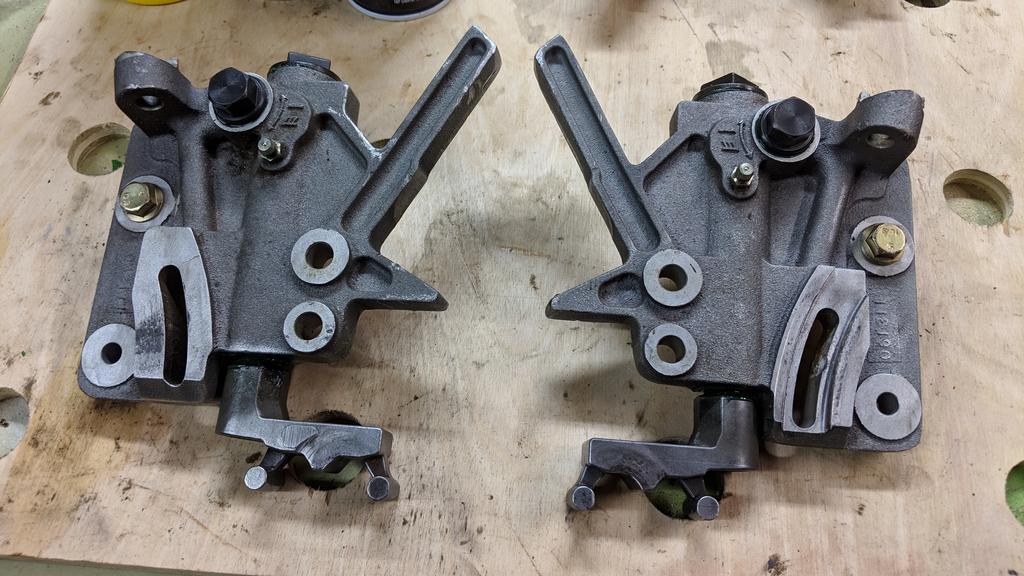
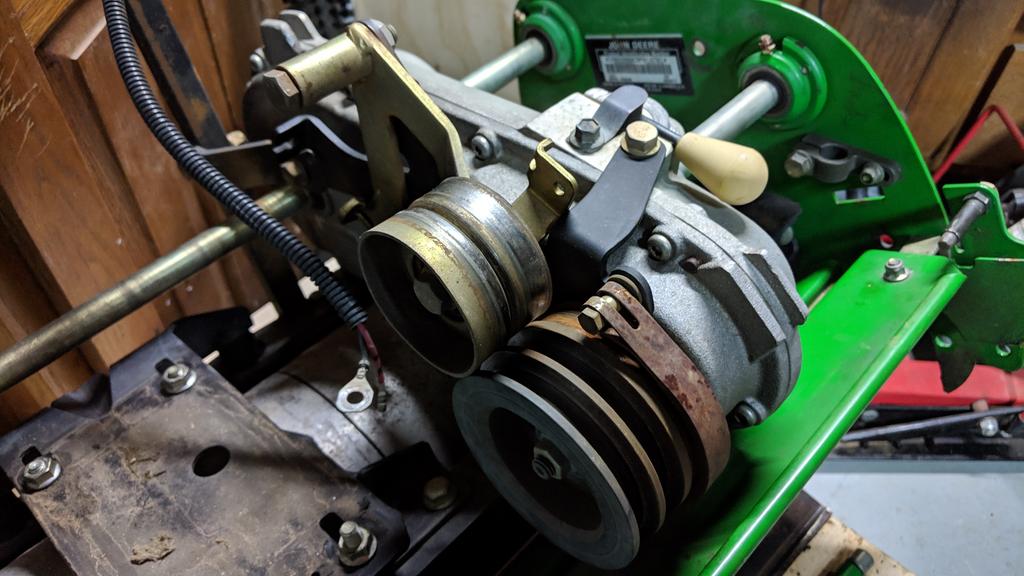
I've already overhauled these HOC adjusters.
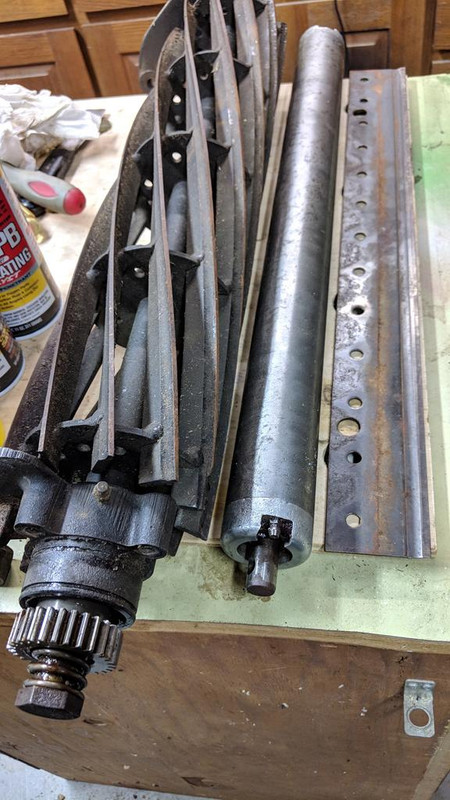
Looking to switch to a 7 or 9 Blade fairway setup.
Only about 1/10 of the grease remains at this point. I have a pile of blue towels in the corner to prove it. Brush groomer in the background.

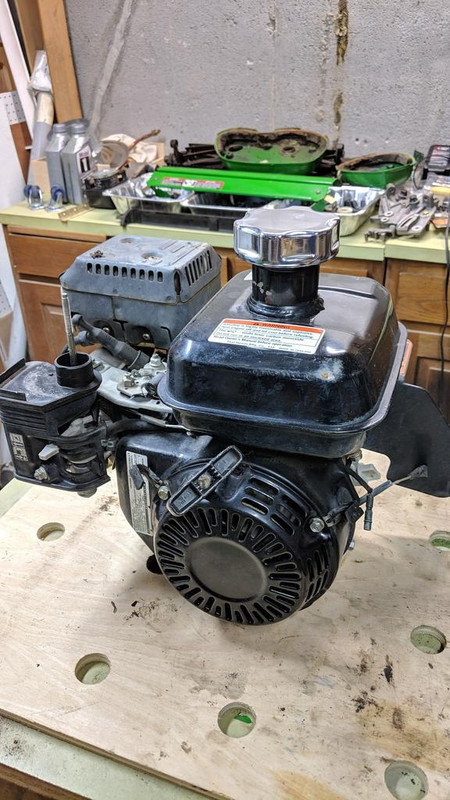
Honda Power, after the carb cleaning, she starts on the first pull, and runs smooth.
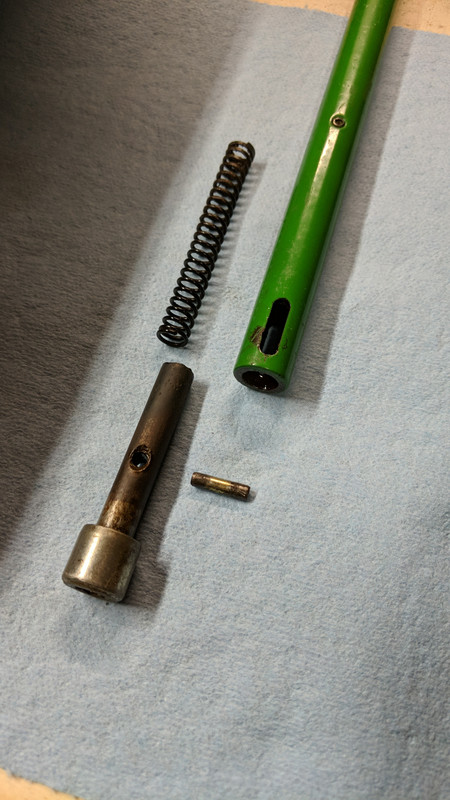
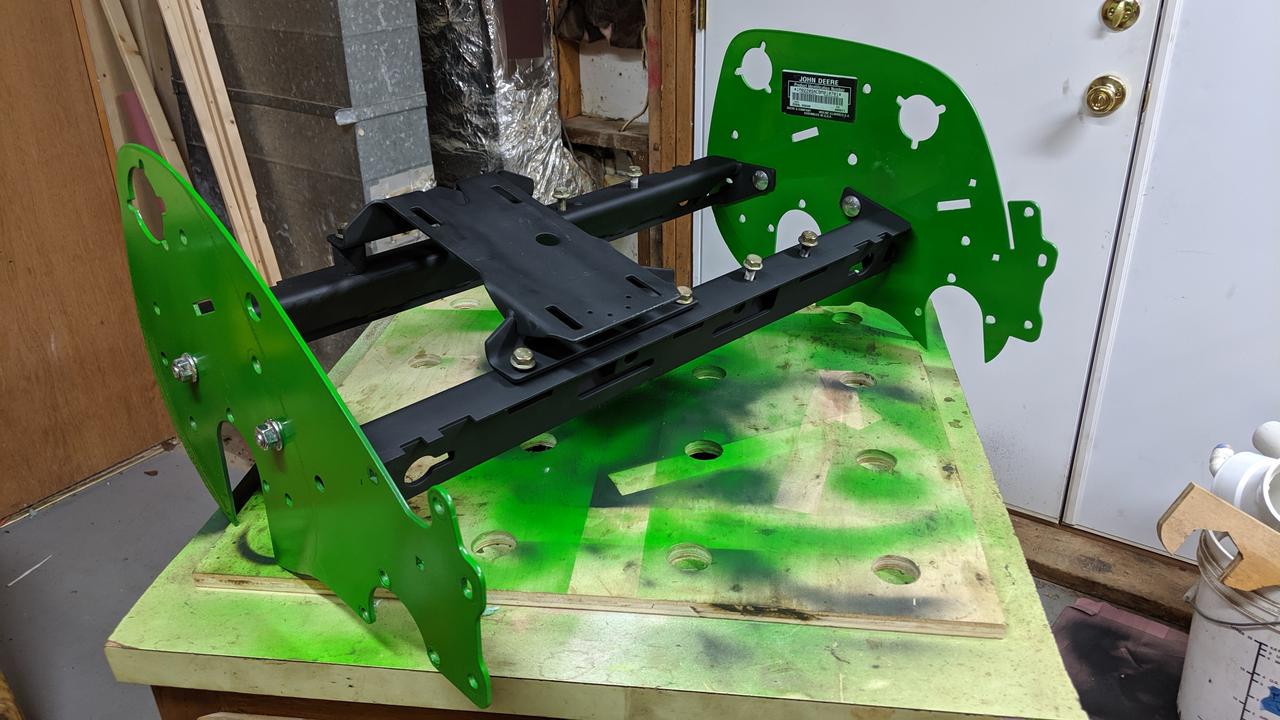
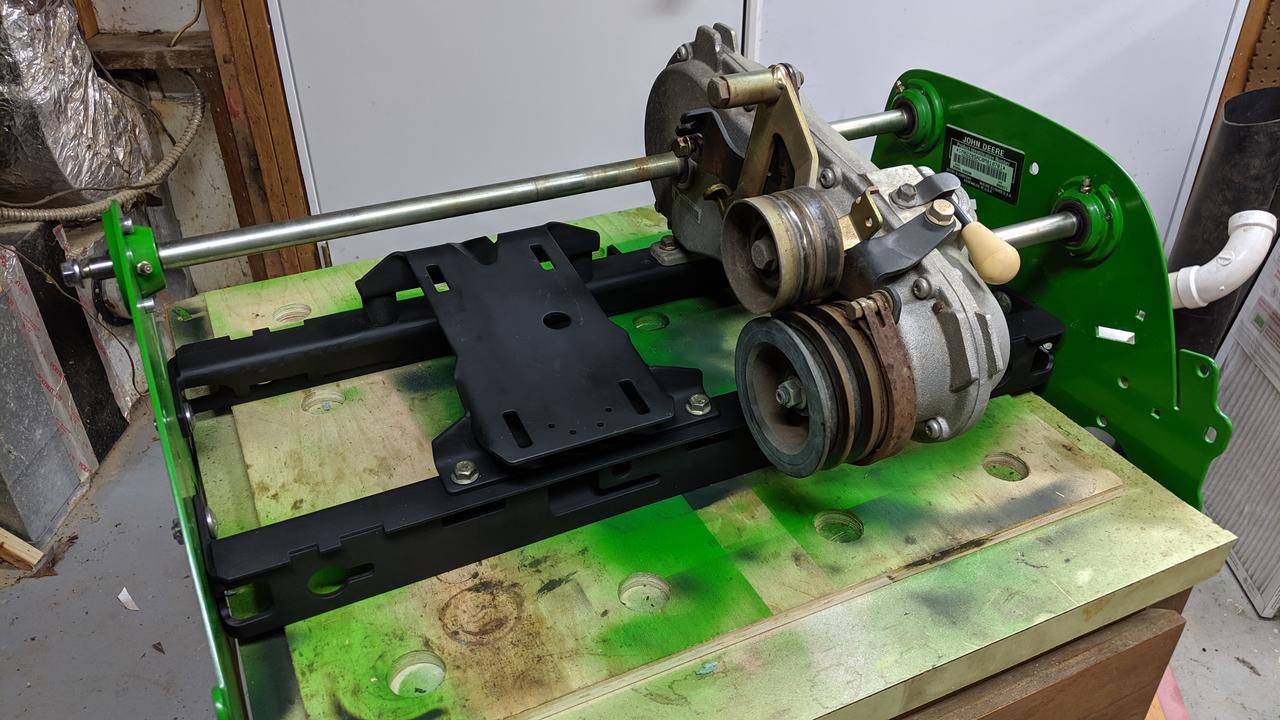
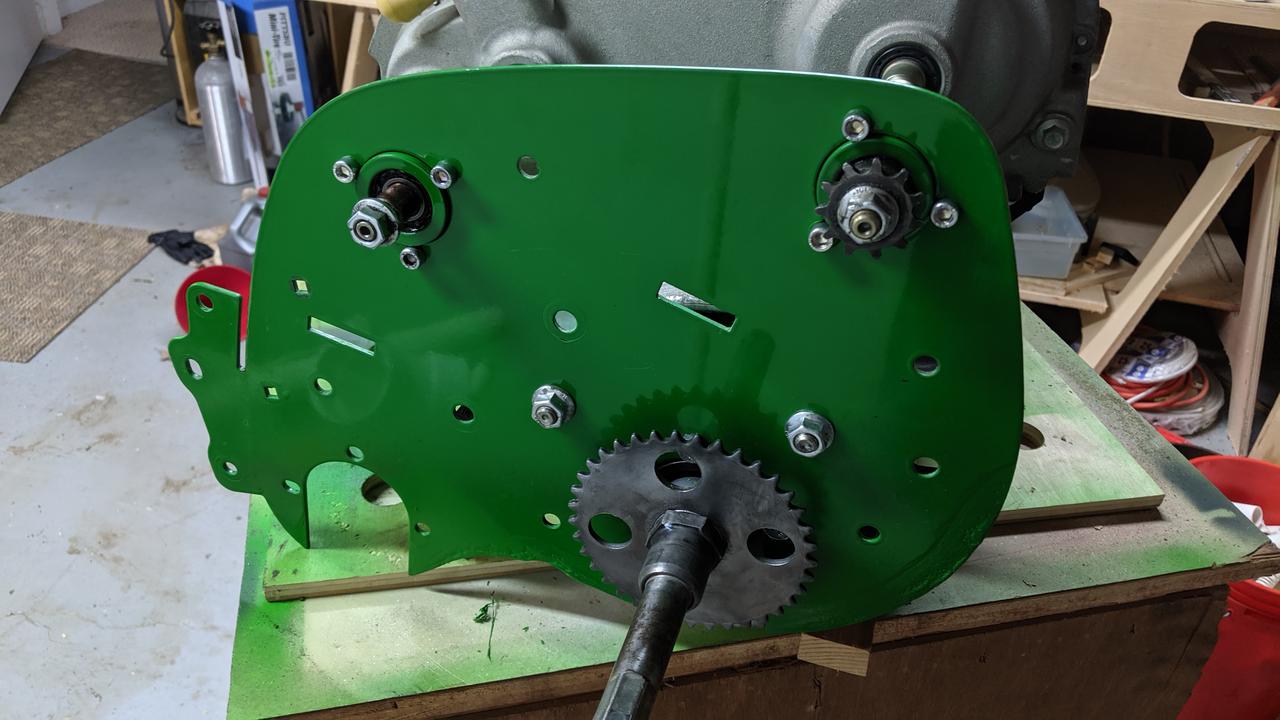
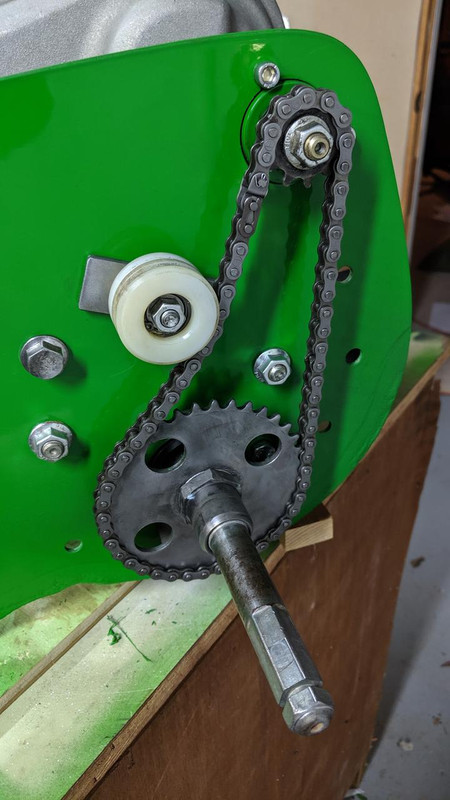
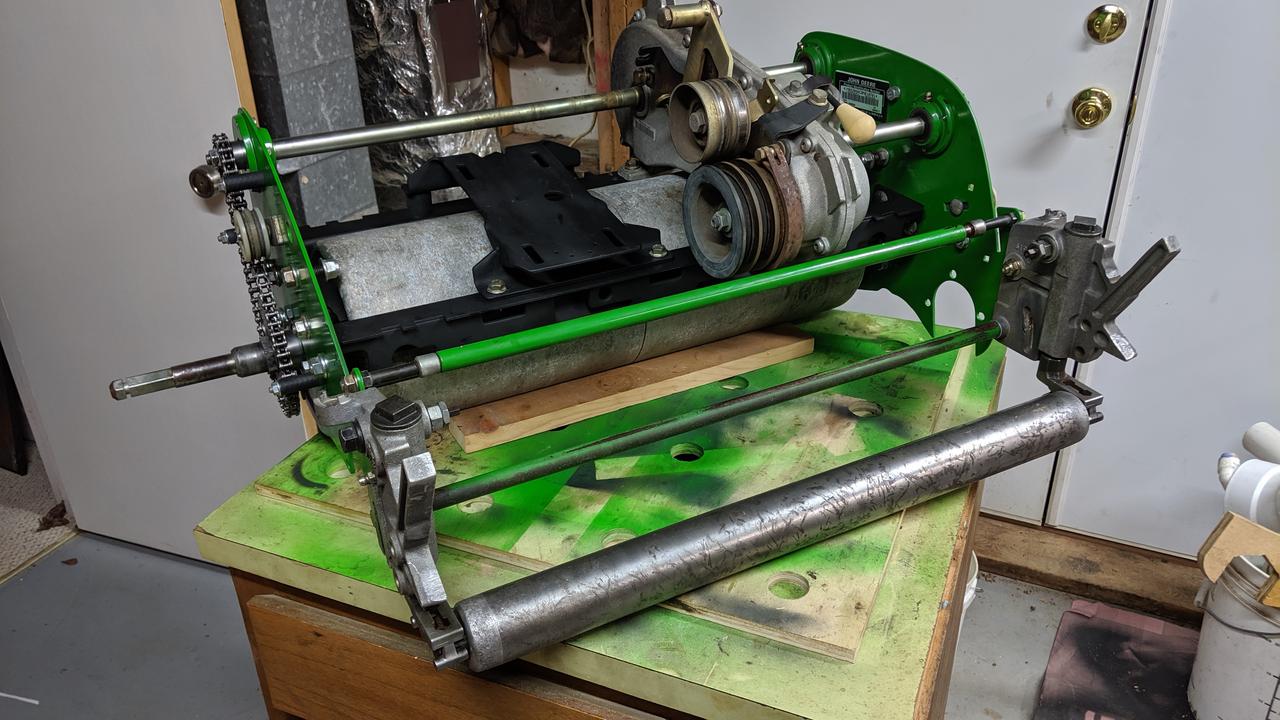
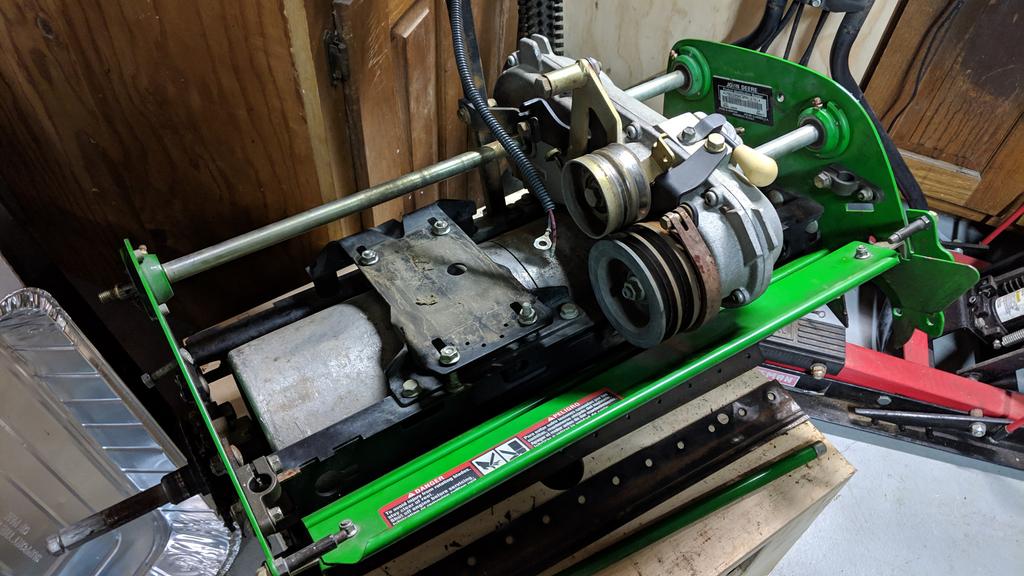
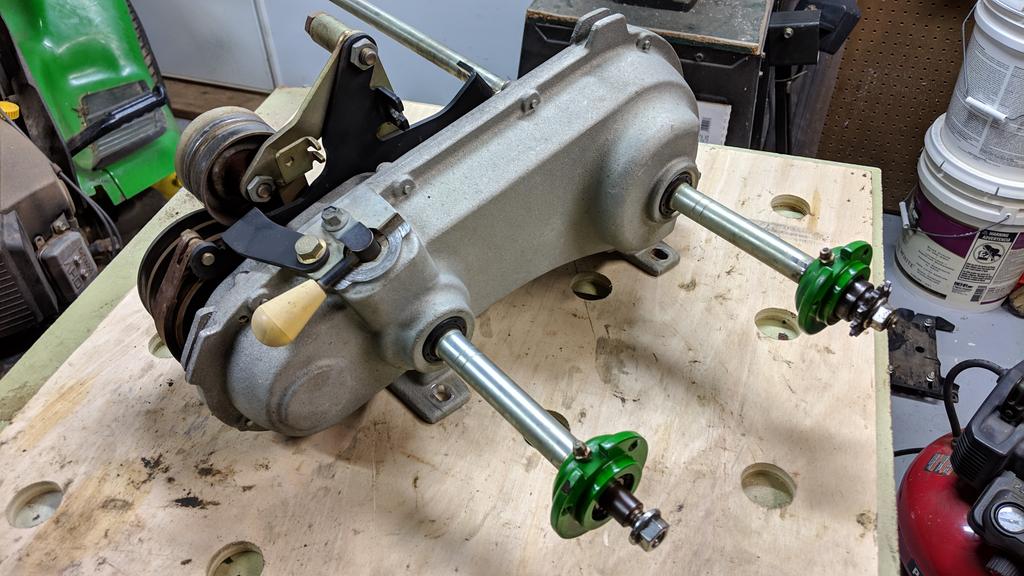
Here's the tipping point. The reel is off, the handle bar is off, the engine is off, and I'm looking at parts that are just begging to be renewed.
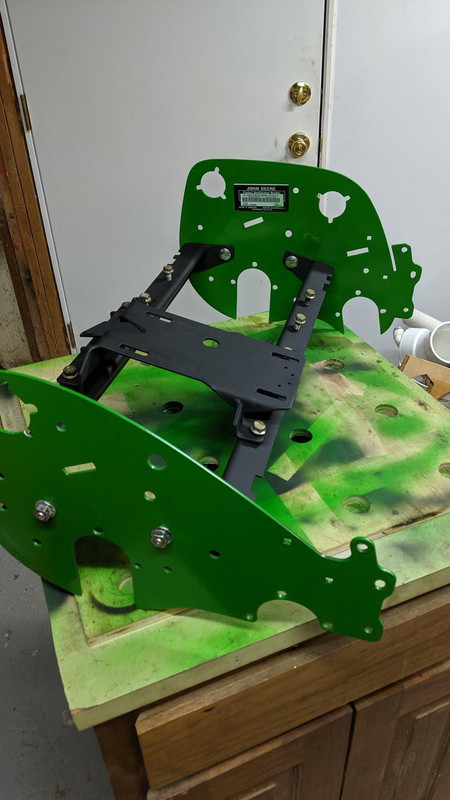
Well, if we're going to do this, then let's do it RIGHT. Here we go!
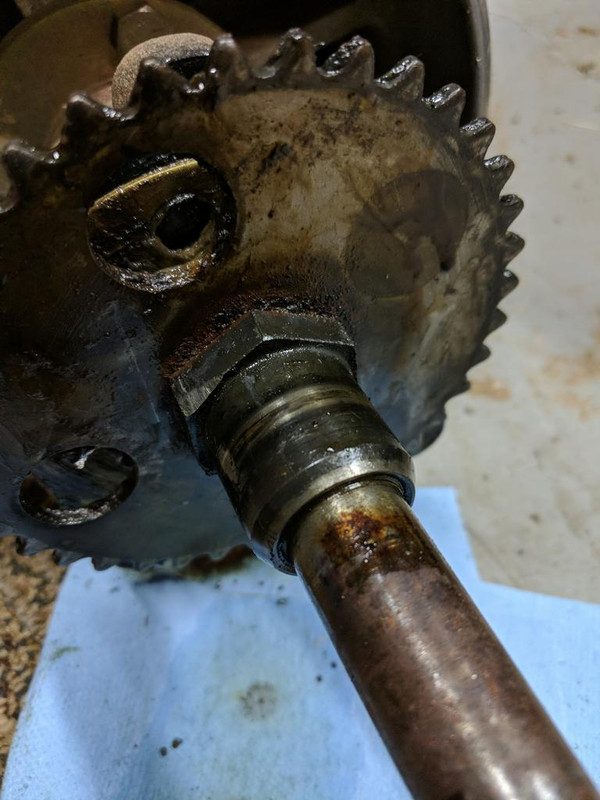
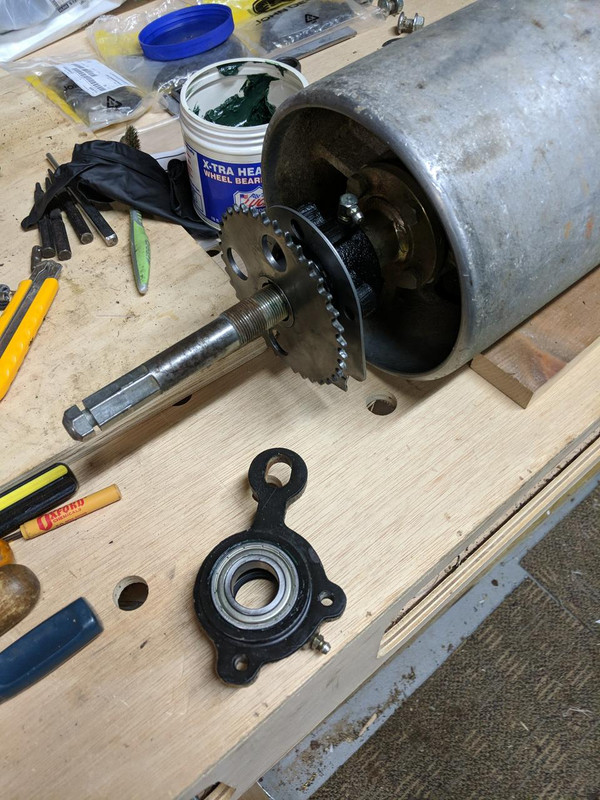
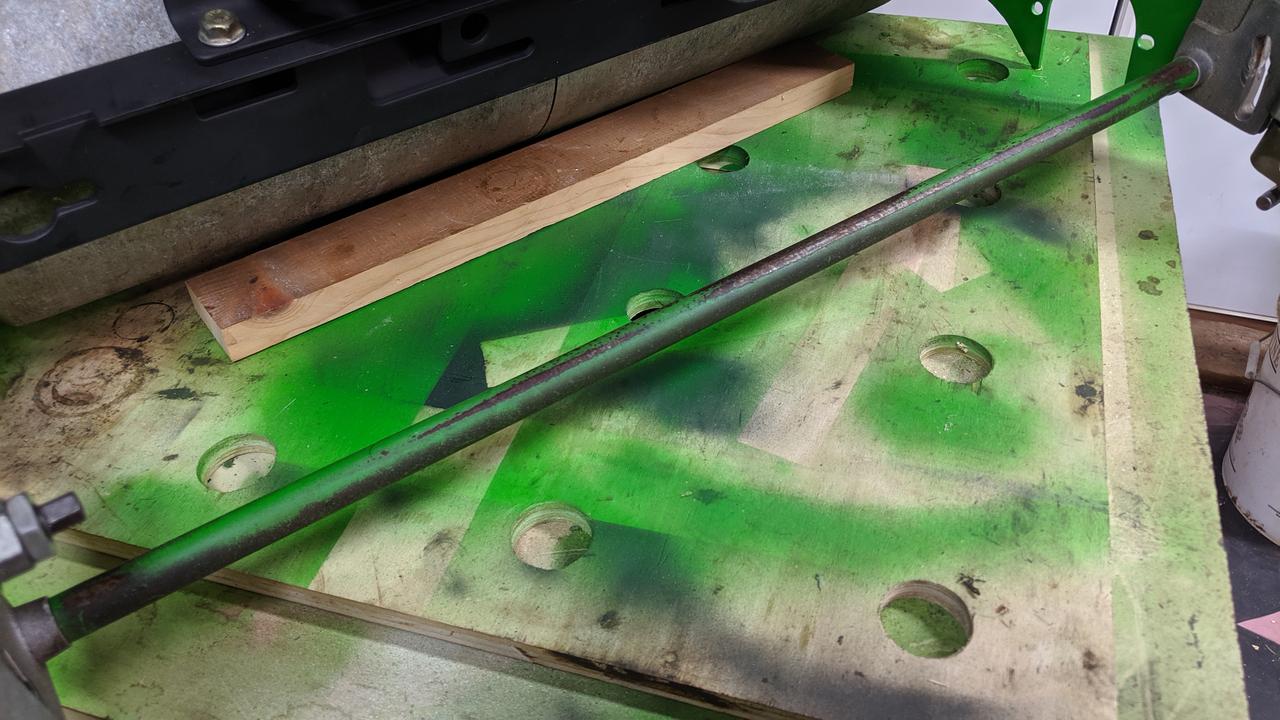
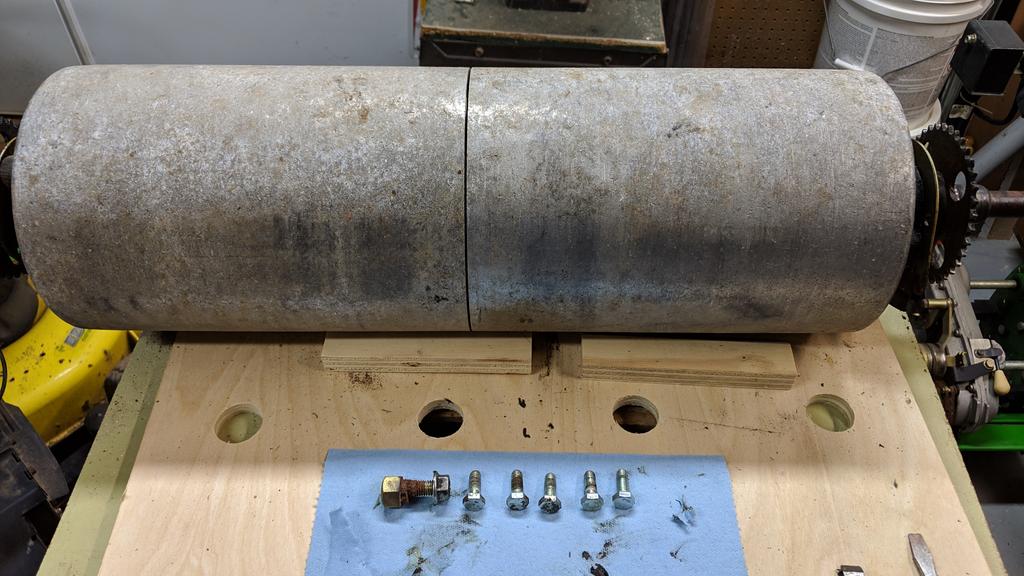
Even with the Roller off now, I'm still working on getting this nut off.
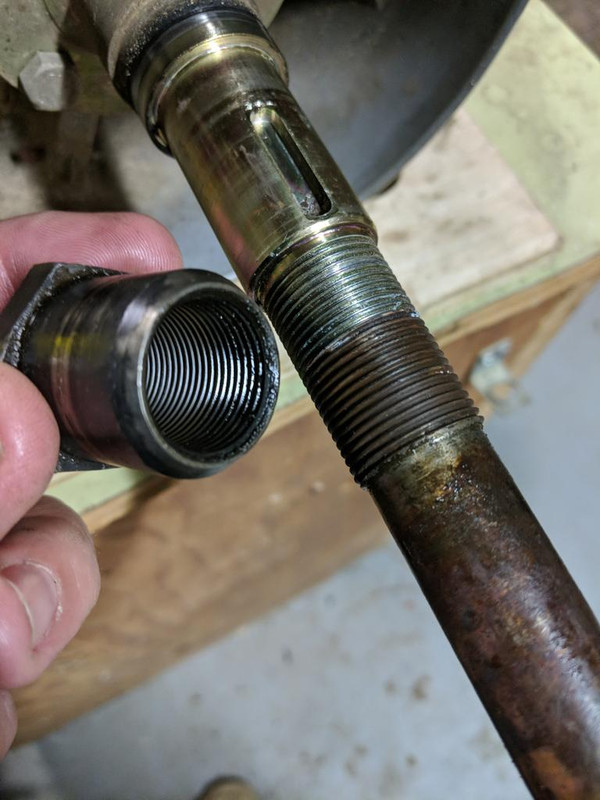
The Roller is in really good shape, and moves freely.
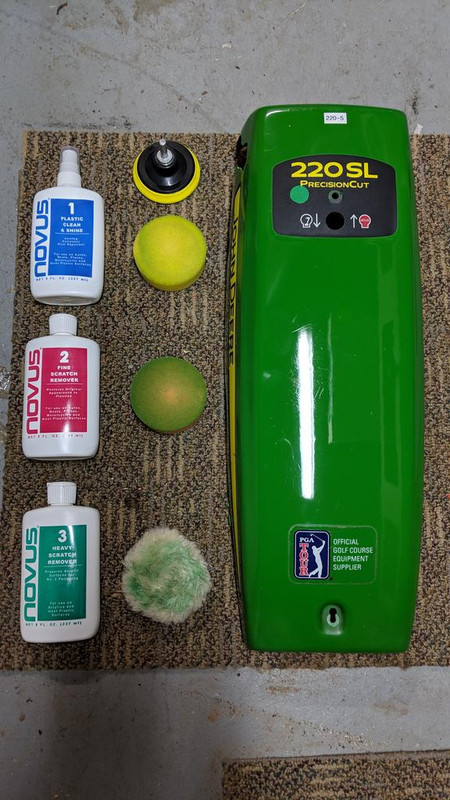
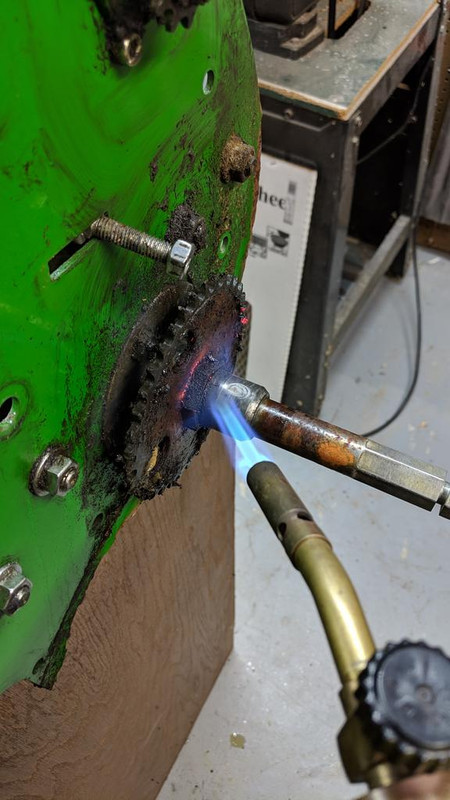
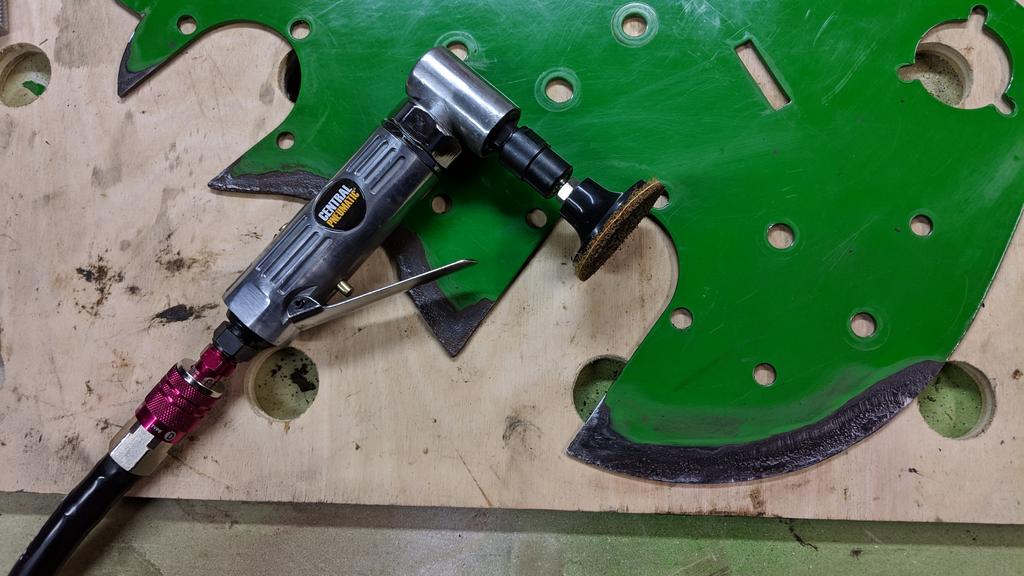
Rust Removal
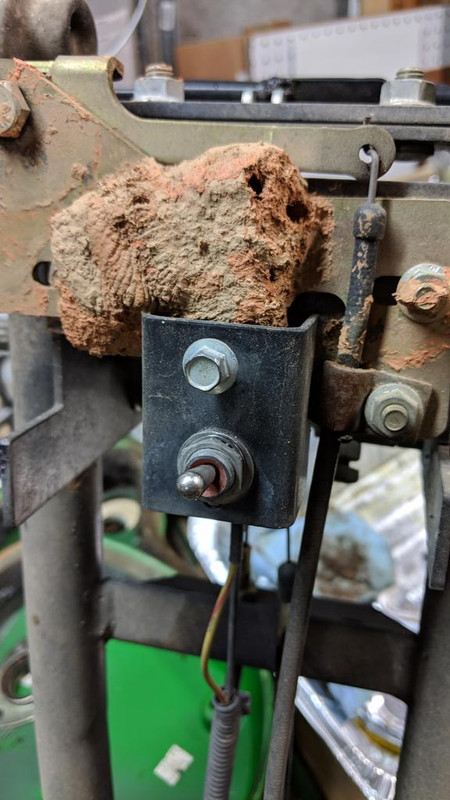
A Hornet mud nest under the cowling.
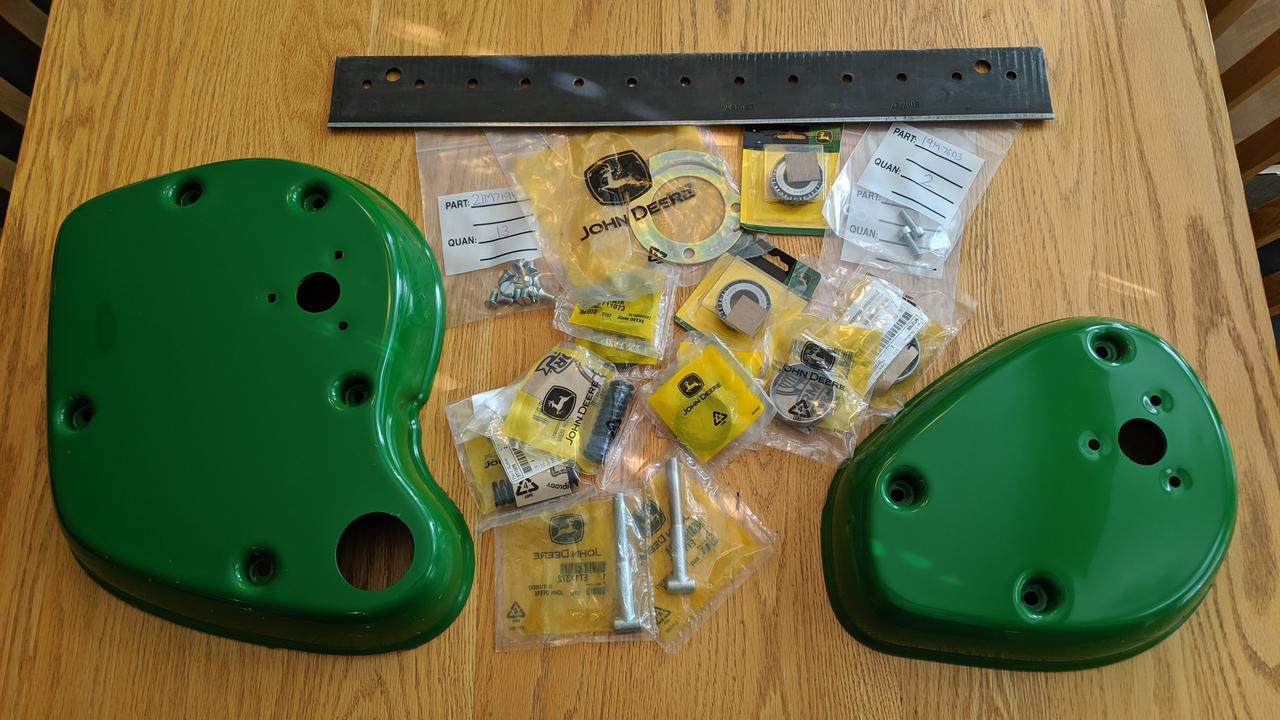
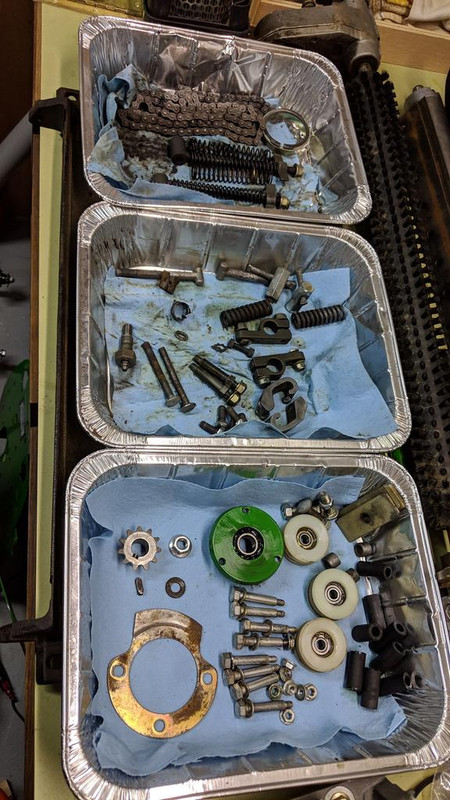
Best inventory system I could come up with. Many of the parts have gone through the Gunk parts cleaner and Evapo-Rust baths.
I hope you enjoy the Ride.
Cheers!
I don't know what Step I'm on in my Lawn 12 Step program, but I'm willing to admit I have a Lawn Problem. It has gotten to the point where I didn't buy just one reel mower at the annual Weeks Auction, I bought FOUR! On top of that I already have two more, a McLean reel and a Honda Harmony rotary, at home? I also have a JD X300 rider I use as my lawn tractor. If I need to cut the grass I have no less that 6 different machines to tackle the job. My wife must think that I've officially lost my mind, heck I think I've lost my mind.
I'll say it again, I bought FOUR new to me reel mowers. Who does that? So now I have a dilemma, which TWO am I going to keep? The plan right now is to keep the 220SL, the TC-22, and the salvage TC-22 for parts, and sell the McLean and the 180SL come spring. Forum members you'll get your chance at the spoils.
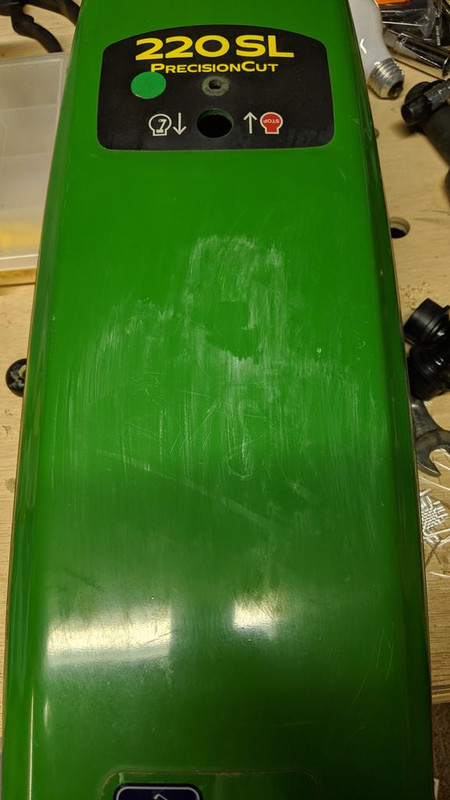
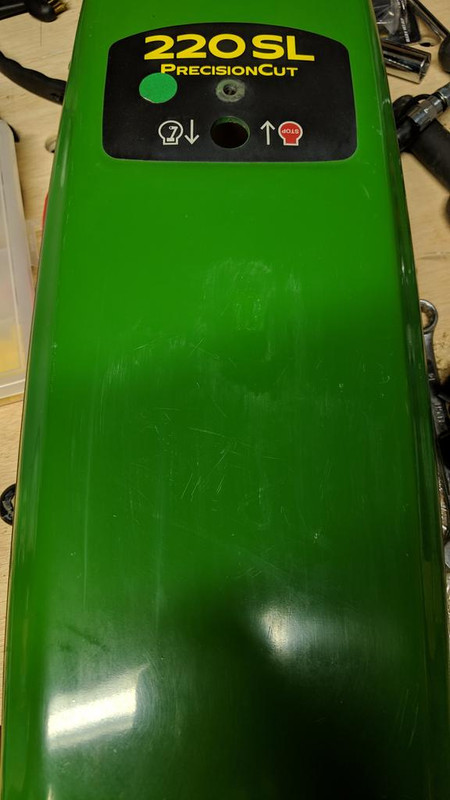
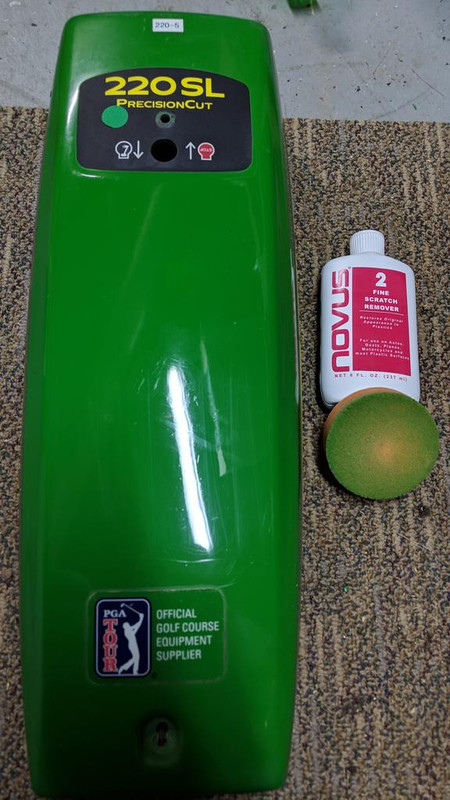
Fast forward - It's a month since the Auction, and I'm looking at the 180SL, and the 220SL that need a little sprucing up. Both mowers have Honda engines and run great, the 180 needed a new pull cord (notice it tied to the handle in the picture), and both carbs were cleaned days after I got them home. They and cut paper with no adjustments, but are seriously in need of a backlapping. The 180SL was bogging down a little on drive w/reel engagement, but that was quickly resolved with fresh grease all around. The plan for the 220SL is to swap out the reel and bedknife for a higher cut in the .50" to 1.25" range. It's settled, the 220SL will be overhauled first.
Not long into the tear down, the reel and bedknife are off, and I'm making good progress. I'm checking other items like the groomer and the front roller. The groomer is begging for me to crack it open, so I do, and the front roller has surface rust needing some elbow grease. I pump new grease into the roller for it to only eject muddy water and old grease randomly. It's at this point that I ask myself, why don't I just do this right and tear it down and renew as much as I can while I'm at it. I have no good answer, I'm looking at some rust spots on the frame, belts that should be changed out requiring the engine be pulled, and bearing grease that was applied a little too liberally at every grease zert.
And since I was beginning to clutter up the JD Reel Mower Questions thread, I figured I might as well centralize this. Heck I will probably need to reference the pictures to get all of the nuts and bolts back in the right place.
The X300 in the background just had its carb cleaned due to a low RPM surge that had developed.
I've already overhauled these HOC adjusters.
Looking to switch to a 7 or 9 Blade fairway setup.
Only about 1/10 of the grease remains at this point. I have a pile of blue towels in the corner to prove it. Brush groomer in the background.
Honda Power, after the carb cleaning, she starts on the first pull, and runs smooth.
Here's the tipping point. The reel is off, the handle bar is off, the engine is off, and I'm looking at parts that are just begging to be renewed.
Well, if we're going to do this, then let's do it RIGHT. Here we go!
Even with the Roller off now, I'm still working on getting this nut off.
The Roller is in really good shape, and moves freely.
Rust Removal
A Hornet mud nest under the cowling.
Best inventory system I could come up with. Many of the parts have gone through the Gunk parts cleaner and Evapo-Rust baths.
I hope you enjoy the Ride.
Cheers!